
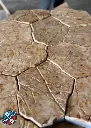
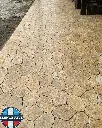


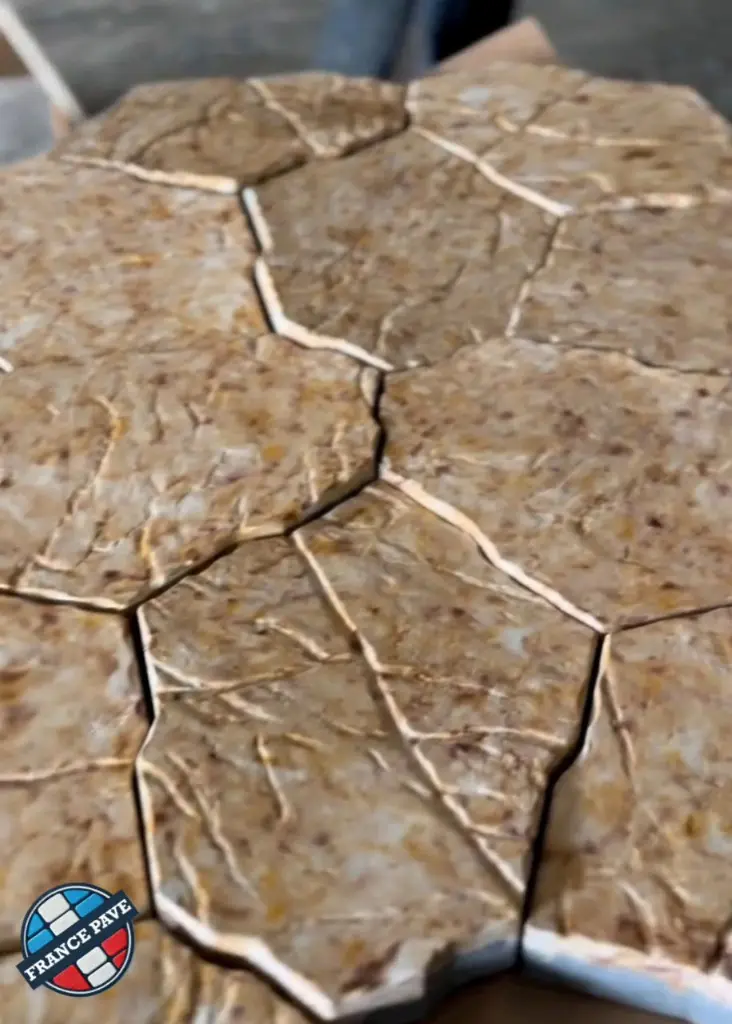
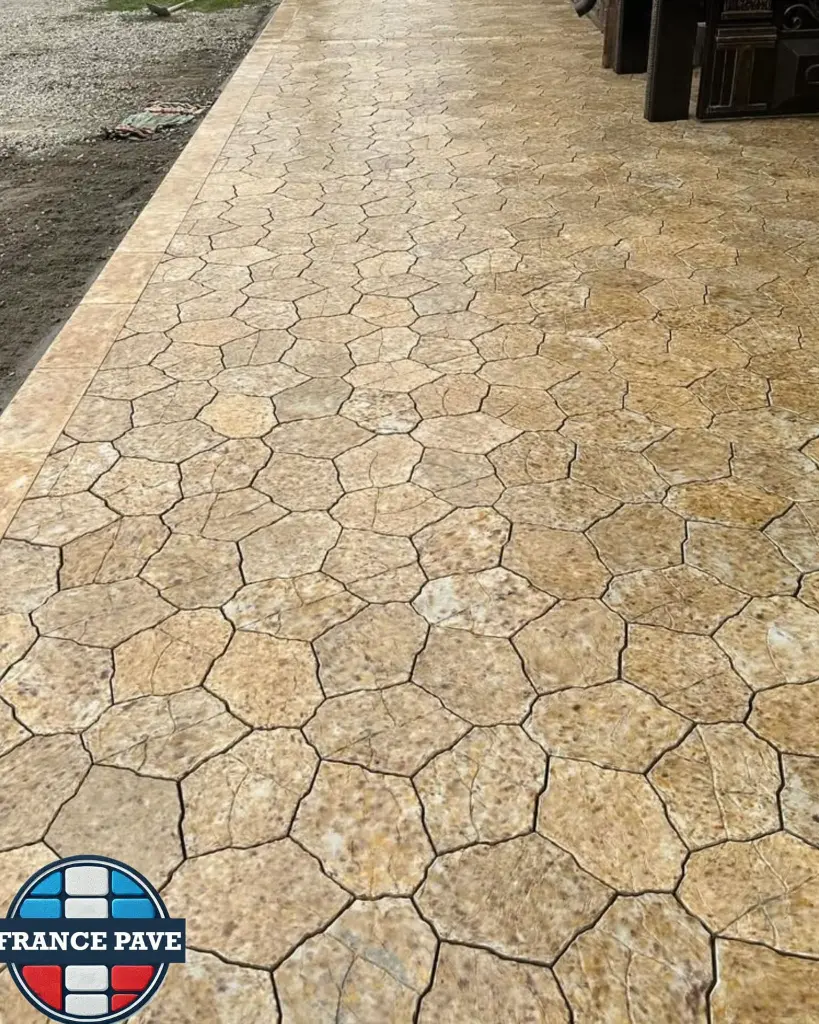
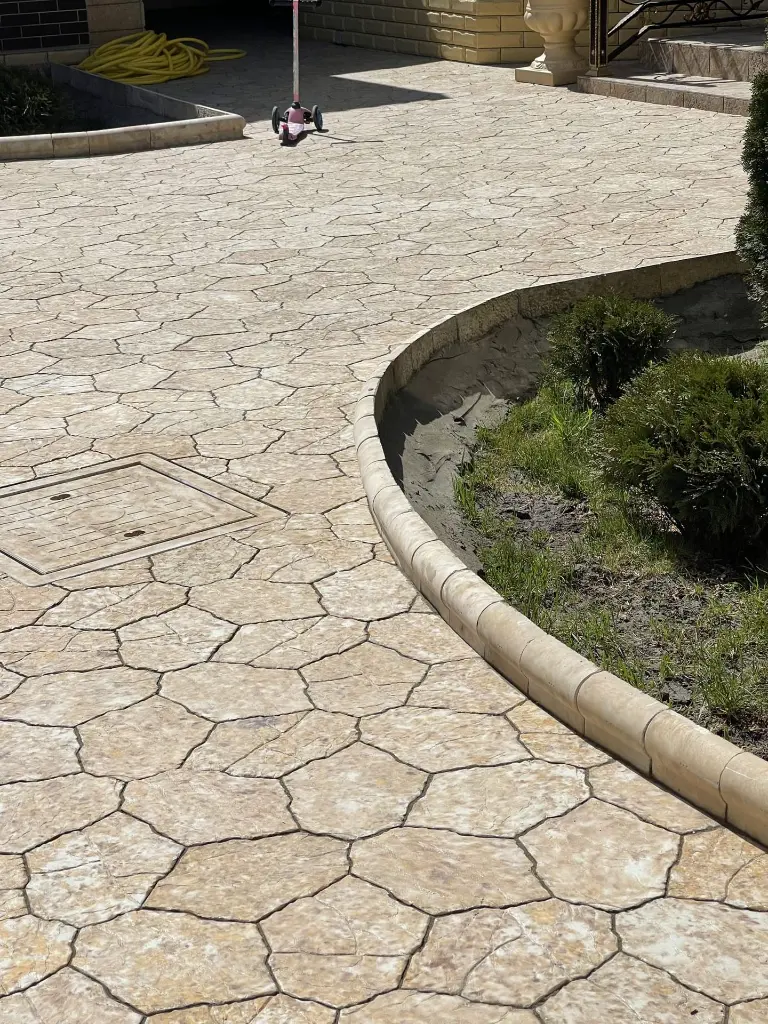
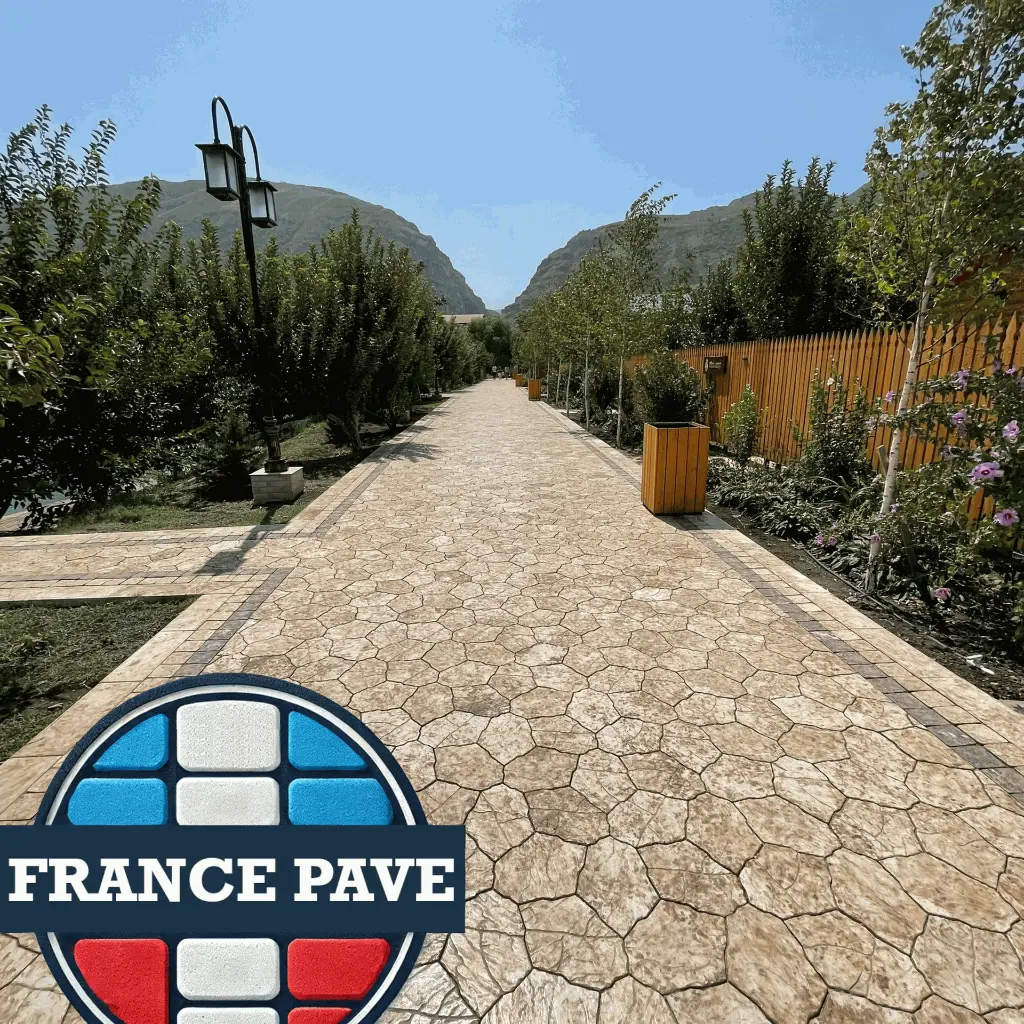
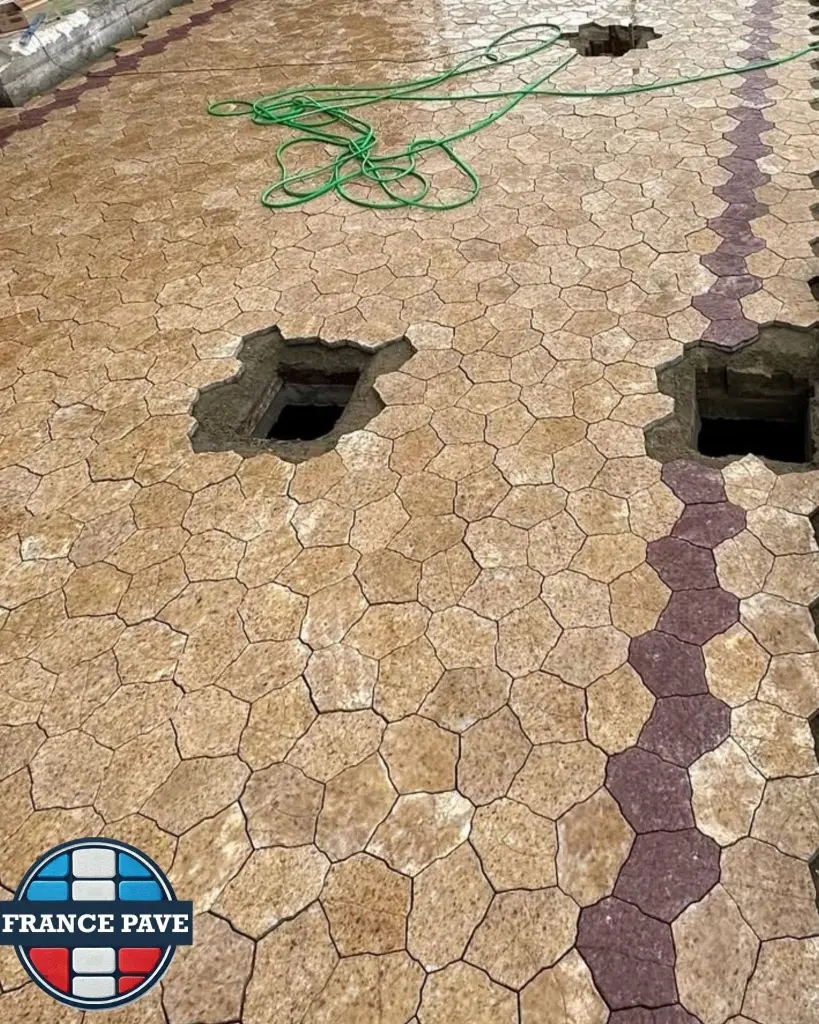
Hot stone effect paving
This stone-effect paving creates a warm, summery atmosphere.
Its irregular texture and beige and golden hues are reminiscent of volcanic rocks heated by the sun, a Mediterranean landscape where light dances on the stone.
The visual effect, with its hexagonal patterns, evokes both the robustness of natural flooring and the refinement of human craftsmanship.
✓Suitable for vehicules
✓Home delivery
Contact-us for advice.
Allow for approximately 10% extra square footage on top of your actual surface area to account for the cuts needed for the curbs.
Delivered within 3-6 weeks
Sold by square meter, quantities correspond to square meters.
Product details
Product information
Concrete paving stone 31.5 x 23 x 4 cm
Features and benefits
- Easy to handle
- Frost resistant
- Rain resistant
- Suitable for vehicules
- Non-slip by design
- Number of units per square meter: ~14
Technical specifications
| Item type | Concrete paving stone |
|---|---|
| Location | Exterior |
| Area of use | Driveway, pedestrian path, and terrace |
| Appropriate type of use | pathways, patios, and terraces |
| Suitable for | Alley |
| Material | Concrete |
| Available color | Stone, Ochre, Yellow/brown stone |
| Product shape | Geometric paving |
| Coverage per pallet | 20 m² |
| Through-body colored tile | Tinted |
| Weight per m² | 96 kg |
| Length (cm) | 31.5 cm |
| Width (cm) | 23 cm |
| Thickness (cm) | 4 cm |
| Slip resistance | Non-slip by design |
| Acquisition with CE marking | No CE marking |
| Manufacturer's warranty | Legal warranty only |
| Product reference | 002 |
We can take care of the installation. To get a quote, you can contact us.
Yes
All our installations are covered by a ten-year warranty.
With the exception of our custom-made products, we offer a 14-day withdrawal period in accordance with our Return policy. It is important to note that, given the weight of our items, you will be responsible for the return shipping costs.
More information
Tutorial: How to lay paving stones like a pro
1. Protect your work area
Start by securing the environment. Mark out the work area with tarpaulins and safety equipment. Protect access points to prevent dirt from getting in and work in a clean, clearly marked area.
2. Prepare the soil
Clear the surface if necessary (remove old flooring or soil), then carefully level and compact the ground. The goal is to achieve a flat, stable base that is ready for the foundation layer.
3. Install the foundation layer
Spread an even layer of gravel or sand (depending on the type of installation). Compact well to ensure good drainage and perfect stability. This base will prevent subsidence in the long term.
4. Lay the paving stones
Arrange the pavers according to the chosen pattern. Align them carefully and maintain even spacing. Adjust and cut the pavers as needed for a clean, attractive finish.
5. Make the joints and finishes
Fill the joints with polymer sand or mortar, depending on the type of installation. Run a compactor over the surface one last time to secure everything in place and prevent weeds from growing between the pavers.
6. Clean and check
Clean up the work site: sweep, remove protective coverings, and dispose of waste. Check every detail of the installation. Once everything has been approved, you can enjoy a clean, stable, and durable installation.
Follow us
